Desctiption of the new Template Manager and templates you can read there!
The basic technical information is available
on this page.
First, we are going to take a look at the most typical challenges that arise when modifying the default templates.
Selecting template for your project
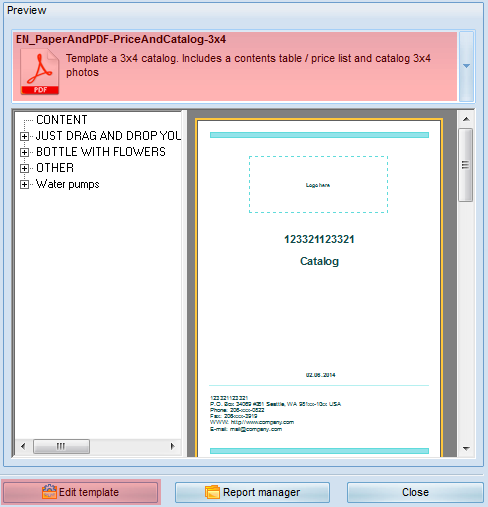
For PDF catalogs click on the "Make PDF" button, select template and click on the 'Edit template' button.

For other types of catalogs (e.g., printable catalog) and technical reports
(e.g., order form), click on the "Reports" button.

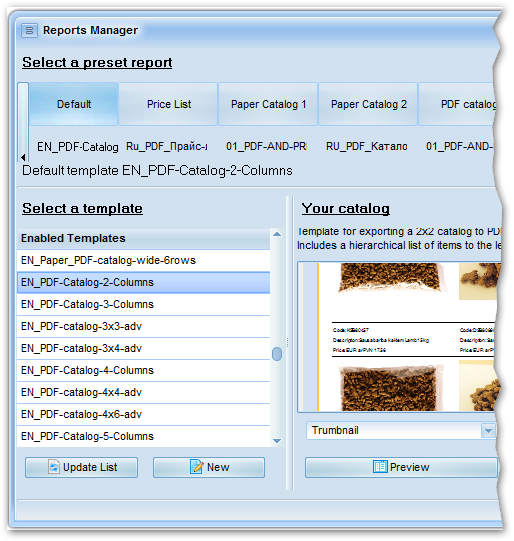
Available reports:
Default report - template assigned to this report does not appear anywhere in the application.
It is convenient for picking templates, without changing the actual settings
Price list - template assigned to this report is displayed on clicking on these buttons in the application:

Paper Catalog - template for the first printable report
Paper Catalog2 - template for the second printable report

- display respectively the first and the second printable report
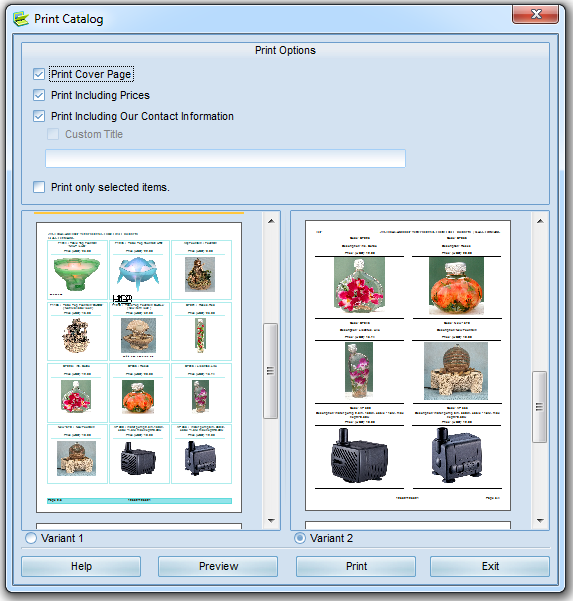
PDF-Catalog - template for PDF catalog, can also be selected in the PDF catalog window

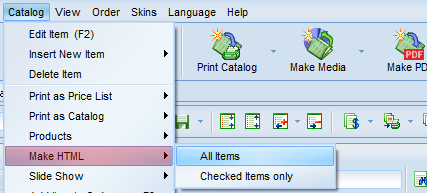
HTML-Catalog - is generated in the application on clicking on this menu item
First Image Viewer and Second Image Viewer.
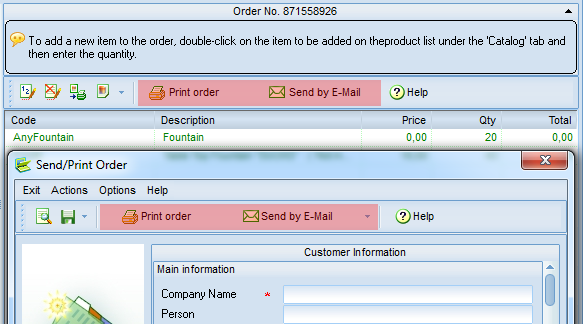
Order Report - used when printing order and attaching order as file
To select a template, click on the report on the list at the top and then on the template on the list at the bottom. Example: click on Paper Catalog, then click on the templates on the list at the bottom and pick the right one. If necessary, repeat the same for other reports.
Editing templates
So, you have selected a report, a template, and have clicked on the "Edit" button.
The selected template will open up in the editor.
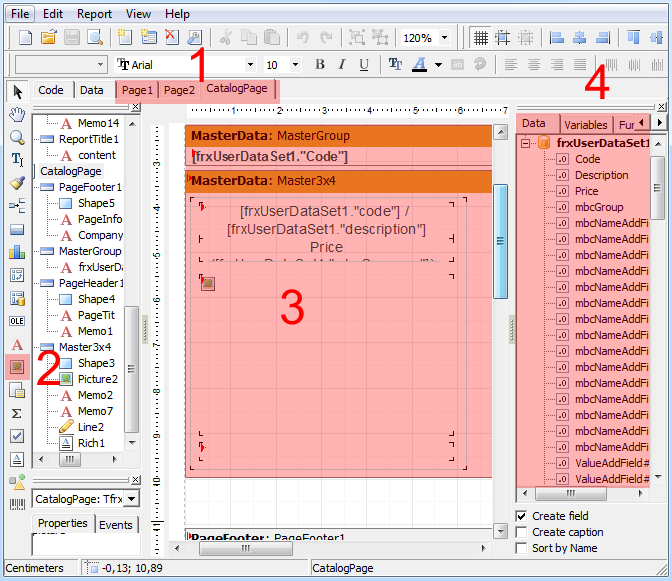
(1) There is a tab bar at the top.
Each tab contains a separate template page.
Their count depends on the template.
For example, cover page, contents page, products page.
Select the template page to be edited.
Adding logo
Select the cover page.
On the pane at the left, click on the "Image" (2) icon and then and then at the required position on the template page.
This opens an empty window. Select the image file (the "Upload" button) with your logo and then click on the button with a green tick to confirm the result.
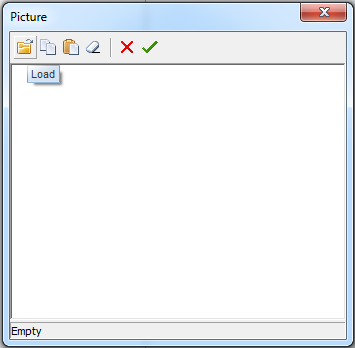
Use the mouse to set the required size and position for the image.
Adding new field to template
Originally, the templates are normally configured to display the product photo, description, SKU, name, and price.
We don't know how many and which additional fields you are going to use and therefore give you an opportunity to add the required fields manually.
Example of adding a new field.
Suppose, we have a new field name in our catalog; e.g., "Width".
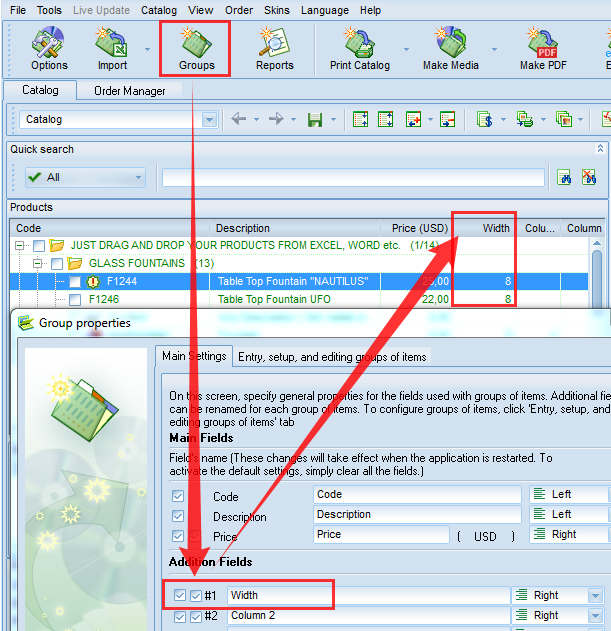
Please note that the field "Width" has a number, #1.
Open the template in the editor.
Resize the photo to give more room for the new fields.
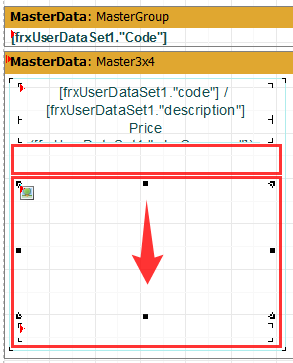
If the photo gets too small, and you are planning to add quite a few fields, just pick a new, more suitable template.
Now drag the fields mbcNameAddField#1
(field name, in this case "Width") and ValueAddField#1 (the value of the field "Width") from the table at the right.
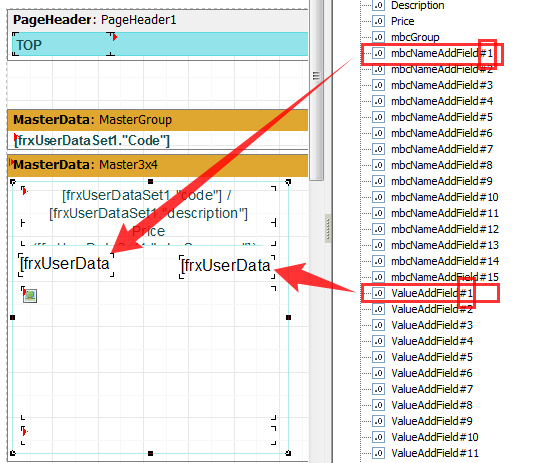
Result:
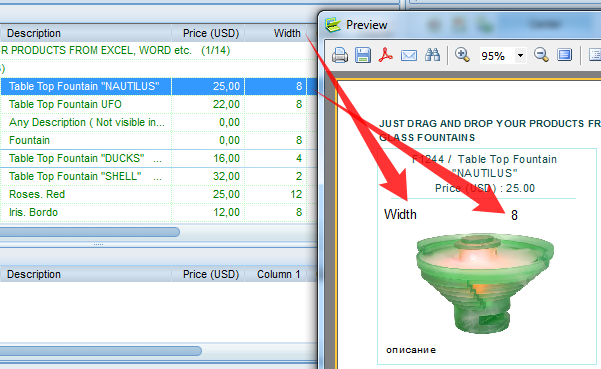
Using the formatting toolbar at the top of the editor, format the field as you feel right (size, color, alignment, etc.)
More on other variables in templates
Adding descriptions
To find out how to add product description to a template when it is not there at all, please read this page.
However, it's easier to pick a template that already ha a description block.
In our example:
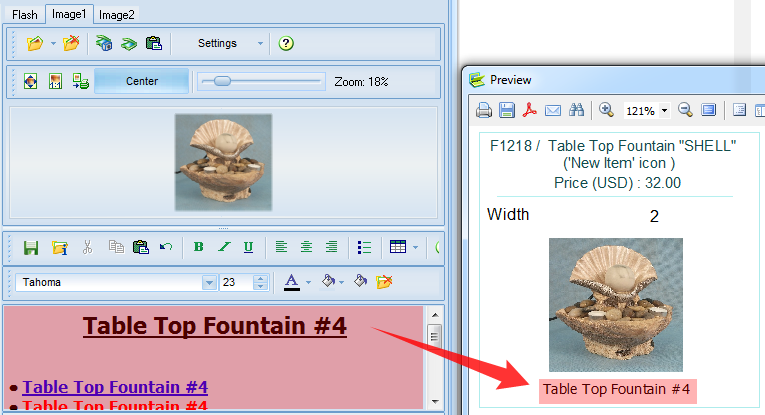
As you can see, the description doesn't fit in the provided block. To correct this, you need to increase the description block size at the cost of decreasing the photo block or, which is more preferable when the description is really large, select a different template, where you can allocate more room for the description.
When descriptions are really large, we recommend using a template displaying just one product item on a page.
Why catalog template?
Design PDF catalog